


What is OBS Studio?
OBS Studio (Open Broadcaster Software) is a free, open-source streaming software streamers use on platforms like Twitch, YouTube, and Facebook Gaming. It allows users to create professional-quality broadcasts with multiple scenes, overlays, and transitions.
Table of content
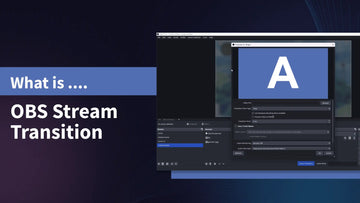
What is a Stream Transition?
A stream transition is an animated effect when switching between scenes in OBS Studio. Instead of an abrupt scene change, transitions help smoothly blend from one scene to another, enhancing the viewing experience.
For example, when switching from a "Starting Soon" screen to your main gameplay scene, a transition can fade, swipe, or animate the change, making your stream feel polished and professional.
Why Are Stream Transitions Important?
- Enhances Professionalism – Makes your stream look polished and high-quality.
- Improves Viewer Experience – Smooth transitions create an immersive and enjoyable flow.
- Strengthens Branding – Custom transitions can match your stream's aesthetic and theme.
- Better Scene Management – Helps organize your content and maintain smooth scene changes.

Default Transitions in OBS
OBS Studio includes several built-in transitions that you can use right away:
- Cut Transition – Instantly switches from one scene to another with no effect.
- Fade Transition – Smoothly fades in and out between scenes.
- Swipe Transition – Moves one scene in over the other in a directional swipe.
- Slide Transition – Slides the new scene into view from a chosen direction.
- Luma Wipe Transition – Uses shape patterns like diagonal lines or dissolves.
- Fade to Color Transition – Fades to a specific color before switching scenes.
- Stinger Transition – Uses an animated video (with transparency) to overlay the transition.
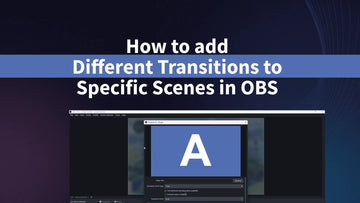
How to Add a Transition in OBS Studio
- Open OBS Studio and go to the "Scene Transitions" section.
- Click the dropdown menu to choose a transition (e.g., Fade, Swipe, or Stinger).
- If selecting Stinger, click "Properties" and upload your video file (MOV/WebM with transparency).
- Adjust the Transition Point (when the scene changes within the animation). If you don't know exact transition point, you can preview the transition and then by guessing timing adjust the point. Usually most transitions are around 1000-2000 ms
- Set Audio Monitoring to Monitor Only (mute output) to control transition audio playback.
- Choose Audio Fade Style as Fade out to the transition point then fade in for smooth audio transitions.
- Click OK and test by switching between scenes.
Where to Get OBS Transitions?
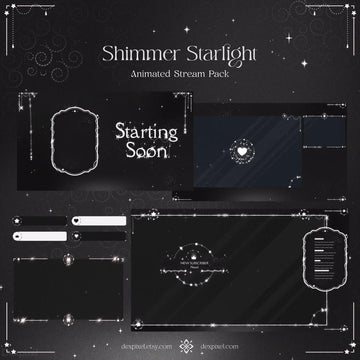
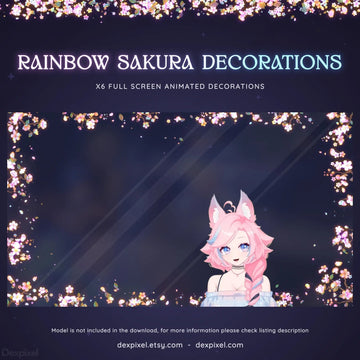
If you want unique, high-quality stream transitions, check out Dexpixel! They offer:
- Cyberpunk Glitch Transitions: Infuse your stream with a futuristic and edgy vibe.
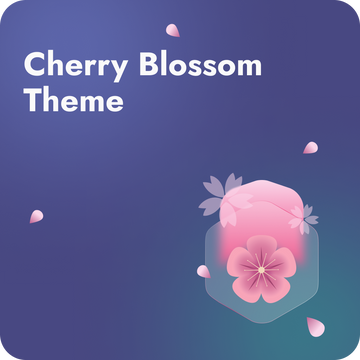
- Cherry Blossom Transitions: Add a serene, nature-inspired aesthetic to your scenes.
- FPS Games Transitions: Perfect for action-packed streams with sharp, dynamic animations.
- Cartoon FX Transitions: Bring playful and energetic vibes with animated cartoon effects.
- Horror Transitions: Set a chilling tone with dark, eerie animations.
- Floral Transitions: Embrace a fresh, natural look with flowers-themed designs.
- Celestial Transitions: Create enchanting moments with whimsical and fantasy-inspired visuals.
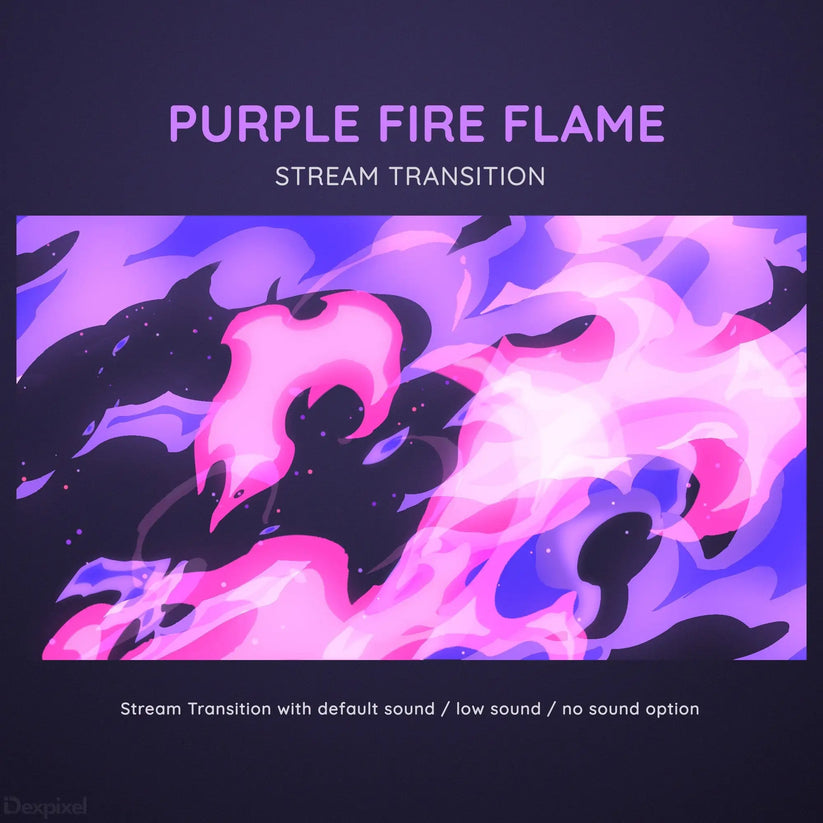
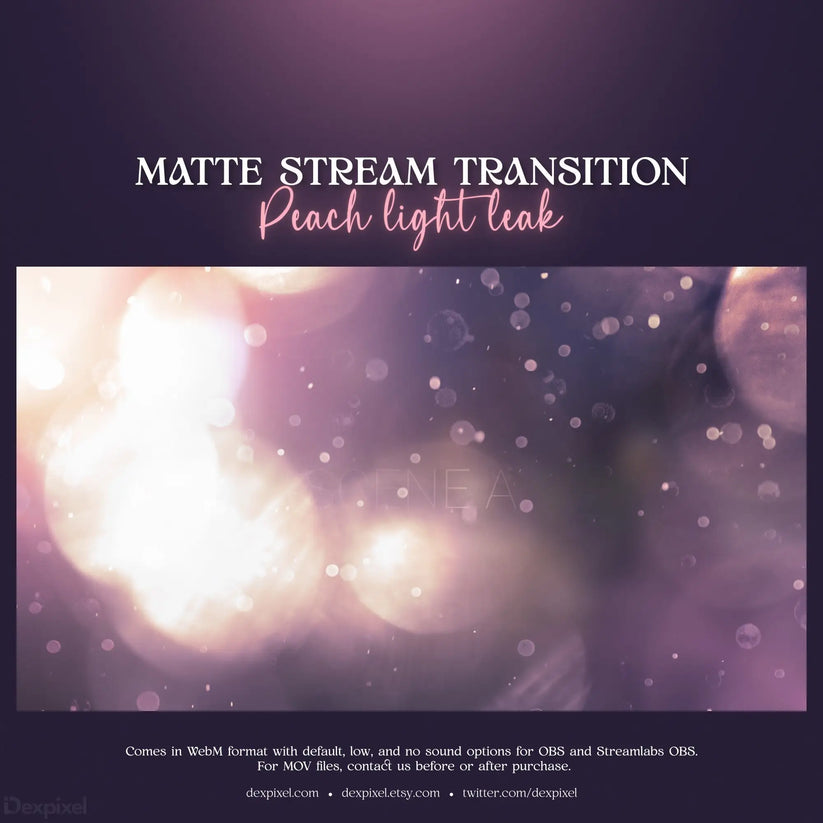
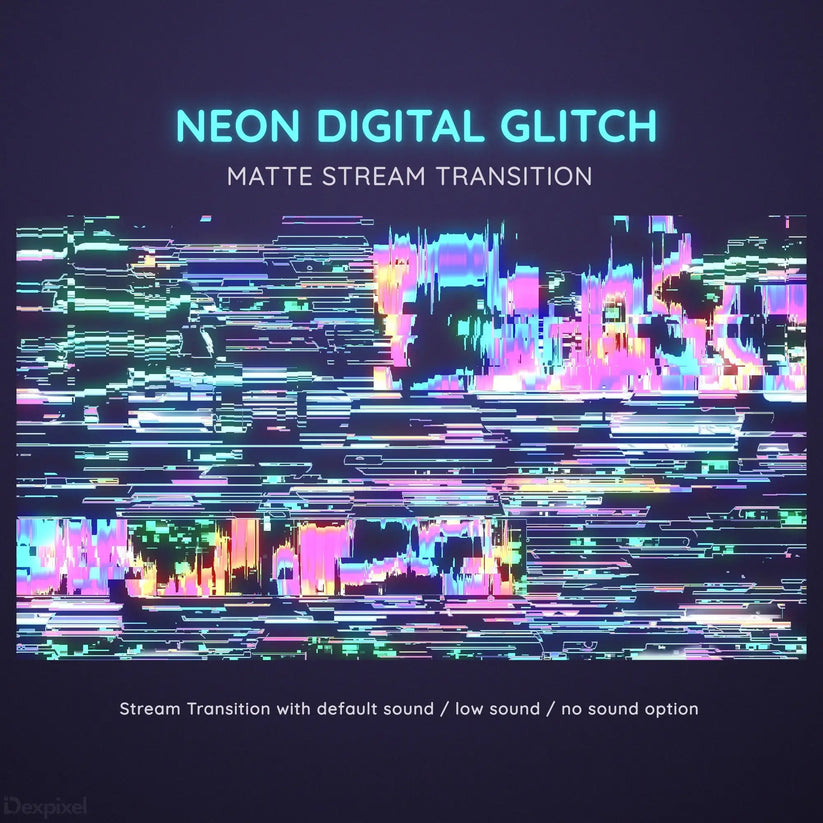
Example of Dexpixel Stream Transitions
This animated stinger transition is perfect for your Twitch, YouTube, or VTuber stream. Ideal for streamers looking for a colorful, aesthetic with seamless transitions.
Final Thoughts
Stream transitions in OBS Studio are a great way to enhance your live streams and make them more professional. Whether you prefer built-in options or custom designs, smooth transitions help create a seamless and engaging viewer experience.
Want to upgrade your stream? Explore custom transitions at Dexpixel to enhance your stream visuals!
What are stream transitions in OBS Studio?
Stream transitions in OBS Studio are animated effects used to smoothly switch between different scenes, preventing abrupt cuts that can disrupt the viewer's experience. These transitions can range from simple fades and wipes to complex stinger animations that use video overlays with transparency.
How do I add a transition in OBS Studio?
To add a transition in OBS Studio:
- Open OBS Studio and navigate to the “Scene Transitions” section at the bottom-right of the interface.
- Click on the dropdown menu and select a transition type (e.g., Fade, Swipe, or Stinger).
- If selecting Stinger, click “Properties”, then upload a WEBM or MOV file that includes transparency.
- Adjust the Transition Point, which determines when the next scene appears within the animation.
- Click OK, then test by switching between scenes to ensure smooth execution.
What file format should I use for Stinger transitions in OBS?
OBS Studio supports .WEBM and .MOV (with an Alpha Channel) for Stinger transitions. These formats allow for transparency, which is crucial for smooth overlays. WEBM is generally preferred due to its smaller file size and better optimization for streaming environments.
What is the best duration for an OBS stream transition?
The ideal duration for a stream transition depends on the pace of your stream:
- Fast-paced streams (FPS, competitive gaming) – 0.5 seconds or less to avoid delay.
- General streaming (variety, casual) – Around 1 second for a balance between style and efficiency.
- Cinematic content or presentations – 1.5 to 2 seconds for a smoother, professional effect.
What is the Transition Point in OBS, and how do I set it?
The Transition Point in OBS determines when the new scene becomes visible during a Stinger Transition. It can be set in milliseconds or frames:
- If your transition covers the whole screen, set the transition point halfway through the animation.
- If your transition includes transparency, set the transition point before transparency appears, so the scene switch happens seamlessly.
- You can fine-tune the timing by testing different values to match the animation.
Can I add sound effects to my OBS transitions?
Yes! OBS allows audio to be included in transition files, but for better control, follow these steps:
- In OBS, go to Advanced Audio Properties for the transition file.
- Set Audio Monitoring to Monitor Only (mute output) to avoid overlapping sounds.
- Use Audio Fade Style options to fade audio smoothly in and out with the transition animation.
How can I create a custom stream transition for OBS?
Custom transitions can be made using software like:
- Adobe After Effects – Ideal for high-end animated transitions with transparency.
- DaVinci Resolve – Great for free, high-quality video editing and motion graphics.
- Blender – Best for creating 3D animated transitions.
- Canva or Kapwing – Basic solutions for minimal motion transitions.
- Export the final animation in WEBM or MOV (Alpha Channel) for best compatibility with OBS.
Why does my OBS Stinger transition have a black background?
This typically happens if your transition file does not support transparency. Ensure that:
- The file format is WEBM or MOV with Alpha Channel enabled.
- You exported the animation with RGBA settings in video editing software.
- The transition point is correctly set in OBS.
Does OBS support animated GIFs as transitions?
No, OBS does not support GIFs for scene transitions. Instead, convert the GIF into a WEBM or MOV file with transparency before using it in OBS. Tools like FFmpeg or EZGIF can help convert GIFs into WEBM format.
Where can I download free and premium OBS stream transitions?
-
Several online platforms offer both free and premium stream transitions:
- Dexpixel – High-quality, custom stinger transitions for branding.
- OWN3D.tv – Paid and free transition packs for OBS users.
- Nerd or Die – Offers a variety of animated transitions.
- Visuals by Impulse – Premium, professional-grade transitions.
- Mixkit & Motion Array – Free transitions with limited customization.