


If you’re serious about streaming, you know that smooth, professional transitions between scenes can make a big difference. Streamlabs Desktop is a fantastic tool for customizing your stream, and one of its most powerful features is the ability to use different transitions for different scenes.
To improve your live streams, you must add custom transitions between your scenes. While many streamers use one transition effect for all their scenes, you can set different transitions for different scenes in Streamlabs Desktop. This allows you to create a more dynamic and professional-looking stream tailored to your content.
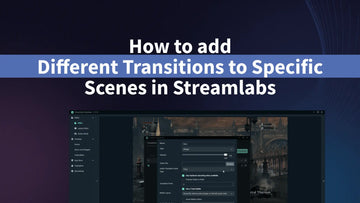
In this guide, we'll show you how to assign unique transitions to specific scenes in Streamlabs and explain why mixing things up is a great idea.
But why would you want to do this? Well, imagine switching from your main gameplay scene to your BRB scene. A slow fade might work best there, creating a relaxing shift. But when jumping into an intense action moment, a quick stinger transition could add excitement.
Table of content
Before we get into the setup process, let’s discuss why you might want to use multiple transitions instead of a single one.
- Enhance the Viewer Experience – Various transitions can make your stream look polished and well-produced, keeping viewers engaged.
- Match Your Content Style – Each scene in your stream serves a different purpose. Using distinct transitions can complement the vibe of each scene.
- Improve Branding & Theme Consistency – Custom transitions let you reinforce your brand identity by using effects that match your overlays, alerts, and overall aesthetic.
- Smooth Visual Flow – Some transitions work better for fast-paced action, while others are for chill, slow-paced content.
- Increase Professionalism—If you want your stream to stand out from the crowd, a unique look with varied transitions can help.
Now that we understand why custom scene transitions are beneficial, we can discuss how to set them up in Streamlabs.
So, let's discuss how to assign different transitions to different scenes in OBS to make your stream look more professional!
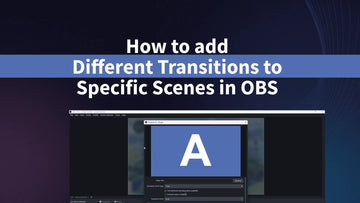
How to Assign Different Transitions to Different Scenes in Streamlabs
Step 1: Open the Streamlabs Studio Scene Transitions Settings
- Launch Streamlabs Studio and make sure your scenes are set up.
- Navigate to the Transition Settings and create all transitions you want to use in different scenes.
- After you created all your scenes decide which scene will have specific transition, you can name transition as specific theme if it's easier for you to navigate.
- In the Transition Settings, navigate to the Connections tab and click on "Add Connection."

- Create a Connection for each scene and transtion by choosing Beginning scene and Ending Scene
- Create multiple Connections for as you like you can specify if you want to use specific transitions for specific scenes or for all scenes.

Test Your Transitions
Before going live, always test how your transitions look in action. Hit the Preview Stream or Record button to see how your different scene transitions perform.
Transitions used in the video
Pink Sakura Cherry Blossom Transition
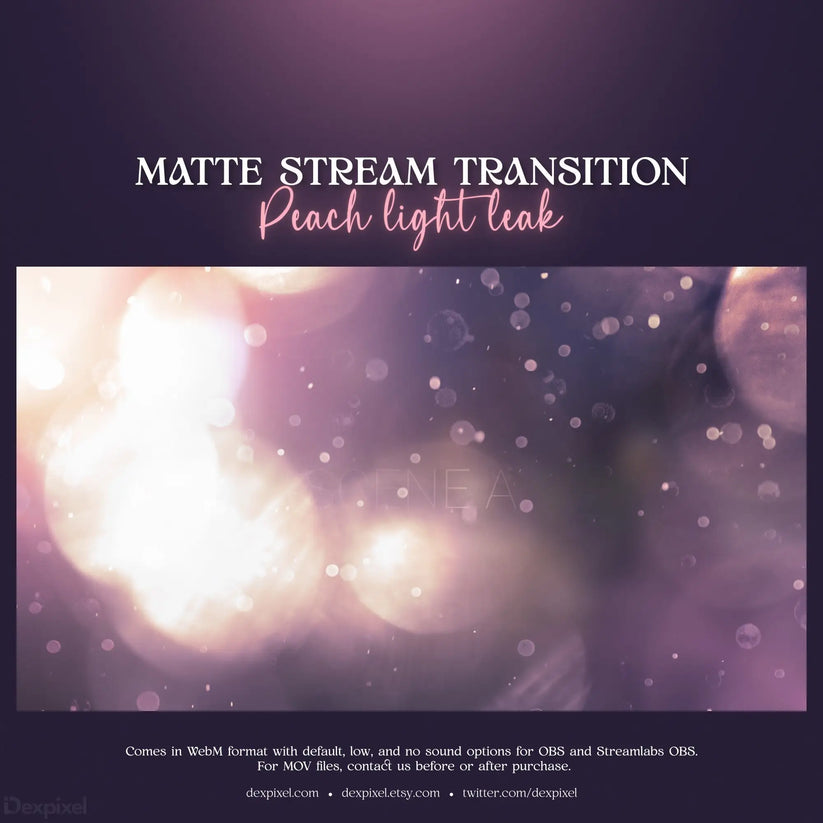
Glass Rainbow Screen Shatter Matte Stream Transition
Rainbow Liquid Magic Matte Stream Transition
Why Different Transitions Matter for Your Stream’s Style
Having different transitions enhances the flow and professionalism of your stream. Here's why it matters:
🎥 Branding & Style – Unique transitions give your stream its own signature look.
🎭 Mood Control – The right transition can set the tone for your content (slow for chill, fast for hype).
📈 Viewer Engagement – Smooth, well-placed transitions keep your audience immersed.
With just a little setup, you can make OBS work for your stream’s personality! Try experimenting with different transitions and find the ones that best suit your style. 🚀
Final Thoughts
Using different scene transitions in OBS isn’t just about looking cool (though it does that too). It enhances the experience, keeps your viewers engaged, and makes your stream feel more professional. Try out different transition types and experiment with timing, effects, and animations to create a seamless, immersive stream!
Example of Dexpixel Stream Transitions
This animated stinger transition is perfect for your Twitch, YouTube, or VTuber stream. Ideal for streamers looking for a colorful, aesthetic with seamless transitions.
If you found this guide helpful, be sure to check out our other streaming tutorials and resources!
Why should I use different transitions for different scenes in Streamlabs?
Using different transitions helps make your stream look more professional and polished. It enhances the flow of your content, sets the right mood for each scene change, and keeps your audience engaged. For example, a smooth fade works well for break screens, while a stinger transition adds excitement when switching to gameplay.
How do I assign specific transitions to different scenes in Streamlabs?
You can assign unique transitions to each scene by using the Scene Transitions panel in . Go to Scene Transitions Settings > Create Connection, select the scene you want to modify, and apply your preferred transition. This ensures that each scene has a transition that fits its style and purpose
What types of transitions are available in Streamlabs Studio?
OBS provides several built-in transitions, including:
- Cut – Instant switch between scenes
- Fade – Smooth dissolve effect
- Swipe – A directional movement transition
- Slide – Moves one scene out while bringing the next scene in
-
Stinger – Custom animations (can include sound effects)
You can also download custom transitions or create your own for a unique look.
How do I make sure my transitions don’t cause lag in Streamlabs?
To prevent lag or stuttering, ensure that:
- Your transition files (especially stingers) are optimized and not too large.
- OBS is running with the right encoding settings to avoid performance drops.
- You are using a high-speed SSD if loading media-heavy transitions.
- Your GPU and CPU are not overloaded with excessive effects.