


Streaming isn’t just about playing games or chatting with your audience—it’s about creating an immersive experience. One of the best ways to make your stream feel polished and professional is by using stream transitions. Whether switching from gameplay to a break screen or jumping between camera angles, a smooth transition keeps your stream looking seamless.
If you've ever wondered, "What exactly is a stream transition?" or "How do I add one to OBS?" You’re in the right place! This guide will explain everything you need to know about stream transitions, from what they are to how to set them up in your streaming software.
Table of content
-
1. What is a Stream Transition?
- 1.1 Why Are Stream Transitions Important?
-
1.1 Default Transitions in OBS Studio and Streamlabs
- 1.1.1 1. Cut Transition (Instant Scene Switch)
- 1.1.2 2. Fade Transition (Smooth Crossfade)
- 1.1.3 3. Swipe Transition
- 1.1.4 4. Slide Transition
- 1.1.5 5. Luma Wipe Transition
- 1.1.6 6. Fade to Color Transition
- 1.1.7 7. Stinger Transition (Custom Animation)
- 1.1.8 Example of Cartoon Flame Stinger transition at Dexpixel Shop
- 1.1.9 How Do I Add a Stream Transition in OBS and Stremlabs Studio?
- 1.1.10 What File Format Should a Stream Transition Be?
- 1.1.11 Why Choose WEBM Over MOV?
- 1.1.12 How Long Should a Stream Transition Be?
- 1.1.13 What is the Transition Point in OBS?
- 1.1.14 Do I Need a Transparent Background for a Stinger Transition?
- 2. Final Thoughts
What is a Stream Transition?
A stream transition is a short animated effect that appears when switching between scenes in your streaming software (like OBS Studio, Streamlabs, or XSplit). Instead of an abrupt scene change, a transition makes the switch look natural and visually engaging.
For example, if you move from a "Starting Soon" screen to your gameplay scene, a transition can smoothly wipe, fade, or animate the change, making your stream look more professional.
Why Are Stream Transitions Important?
- Enhanced Viewer Experience – Smooth transitions prevent jarring scene changes, keeping viewers engaged.
- Professionalism – Well-designed transitions give your stream a polished, high-quality look.
- Branding – Custom transitions can reinforce your channel's identity with unique animations and effects.
- Better Scene Management – Helps organize your content, making your stream flow effortlessly
Default Transitions in OBS Studio and Streamlabs
Both OBS Studio and Streamlabs come with built-in transition effects that you can use without needing custom animations. Here’s a breakdown of the default transition options:
1. Cut Transition (Instant Scene Switch)
- Effect: Instantly switches from one scene to another without any animation.
- Best For: Quick transitions with no delay, often used for fast-paced gaming or professional setups where minimal distraction is needed.
- Customization: No settings required—it's an instant switch.
2. Fade Transition (Smooth Crossfade)
- Effect: Gradually fades from one scene to the next by adjusting opacity.
- Best For: A subtle and smooth transition commonly used for chatting or intermissions.
- Customization: You can adjust the fade duration (milliseconds or seconds).
3. Swipe Transition
- Effect: Slides one scene in over the other in a horizontal, vertical, or diagonal direction.
- Best For: Creating a dynamic effect without a full stinger animation.
- Customization: Adjust the direction and duration of the swipe.
4. Slide Transition
- Effect: Moves the current scene out while sliding the new scene in from any direction.
- Best For: More engaging scene changes, especially for presentations or creative content.
- Customization: You can select the slide direction and speed.
5. Luma Wipe Transition
- Effect: Uses a variety of mask patterns (like diagonal lines, shapes, or dissolves) to transition between scenes.
- Best For: A more visually appealing transition compared to a simple fade.
- Customization: Choose from different wipe patterns and adjust transition speed.
6. Fade to Color Transition
- Effect: Fades the current scene into a solid color before transitioning into the next scene, creating a smooth and cinematic effect.
- Best For: Dramatic scene changes, branding consistency, or adding a pause between transitions for a polished look.
- Customization: Adjust the fade duration and choose any color for the overlay to match your stream’s theme.
7. Stinger Transition (Custom Animation)
- Effect: Uses a video file (MOV/WebM) with transparency to overlay an animation before revealing the next scene.
- Best For: Professional streamers who want high-quality branding and seamless scene changes.
- Customization: Requires a transition file, transparency settings, and timing adjustments.
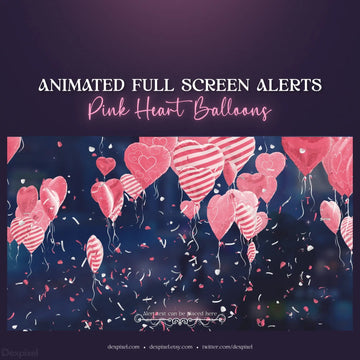
Example of Cartoon Flame Stinger transition at Dexpixel Shop
This animated stinger transition features vibrant flames that add a dynamic, playful energy to your Twitch, YouTube, or VTuber stream. Perfect for streamers looking for a colorful, cartoon-inspired aesthetic with seamless transitions.


How Do I Add a Stream Transition in OBS and Stremlabs Studio?
Adding a transition in OBS Studio is super simple! Just follow these steps:
- Open OBS Studio and go to the bottom-right panel labeled "Scene Transitions."
- Click on the dropdown menu and select "Stinger."
- Click "Properties" and upload your transition file (MOV or WEBM with transparency).
- Adjust the Transition Point—this is when the new scene will appear during the animation. You can set this in milliseconds or frames.
- Click OK, and your transition is ready to use!
Want to test it? Simply switch between scenes and watch your transition in action!
A stream transition is an animated effect when switching between
scenes in OBS Studio.
You can find more information about in the OBS guide
A stream transition is an animated effect when switching between
scenes in Stremlabs Studio.
You can find more information about in the Streamlabs guide
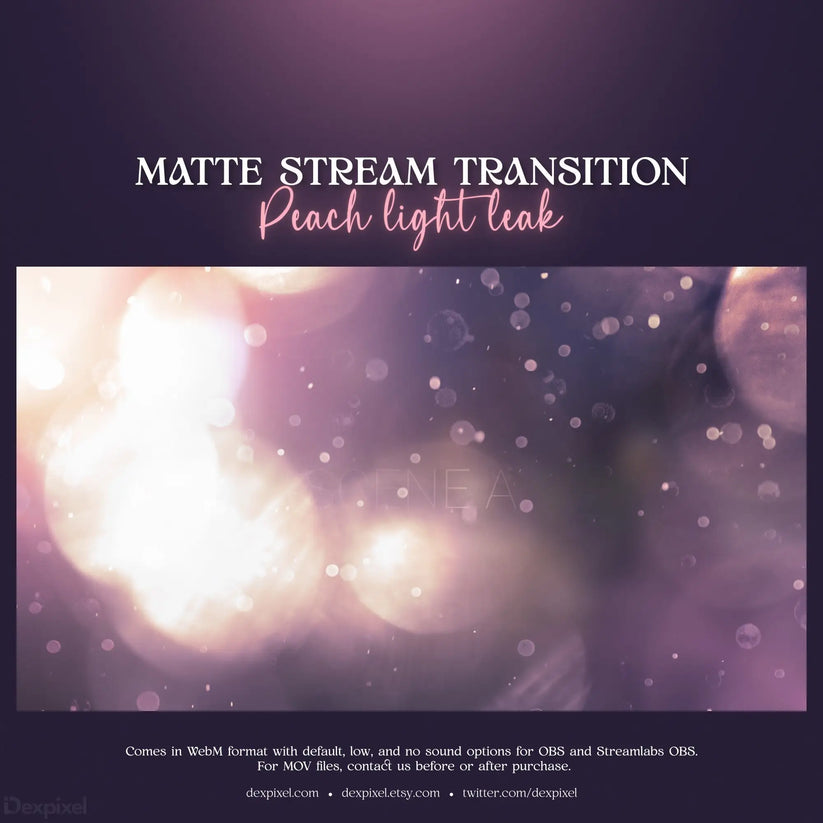
What File Format Should a Stream Transition Be?
For the best results, use:
- .MOV (with Alpha Channel) – High-quality, but large file size.
- .WEBM – Supports transparency, small file size, and best for streaming.
Avoid using GIFs, as they aren't supported in most streaming software.
Why Choose WEBM Over MOV?
- Smaller file sizes – Reduces CPU load and keeps streams running smoothly.
- Transparency support – Works well in OBS and other streaming platforms.
- Better compatibility – Easily integrates with various streaming software.
How Long Should a Stream Transition Be?
A good stinger transition should be 0.5 to 2 seconds long. Anything longer can feel too slow, and anything shorter may look too abrupt.
A fast-paced streamer (like an FPS player) might prefer shorter transitions (~0.5s), while a variety or talk show streamer might go for a slightly longer one (1-2s) for a smoother effect.
What is the Transition Point in OBS?
The Transition Point tells OBS when to switch scenes within your animation.
- If your transition completely covers the screen, set the transition point in the middle.
- If your transition has transparent parts, set the transition point before the transparency appears so it switches at the right time.
What is the best way to find the perfect transition point? Test and tweak until it looks seamless!
Do I Need a Transparent Background for a Stinger Transition?
Yes! A good stinger transition uses transparency so that one scene fades perfectly into the next.
- Use WEBM or MOV (Alpha Channel) to retain transparency.
- If your transition isn’t transparent, it will just be a full-screen animation, which might not look smooth.
OBS Studio vs. Streamlabs Studio: Key Differences & Which One to Choose
Overview of OBS Studio & Streamlabs Studio
🔹 OBS Studio
OBS Studio (Open Broadcaster Software) is a free, open-source, and lightweight broadcasting software. It’s highly customizable and widely used by professional streamers.
- ✅ Pros: Optimized performance, low CPU usage, supports plugins, fully free.
- ❌ Cons: Requires manual setup, lacks built-in widgets, steeper learning curve.
🔹 Streamlabs Studio
Streamlabs Studio is built on top of OBS Studio but includes additional features, a more user-friendly interface, and built-in widgets (alerts, overlays, chat box).
- ✅ Pros: Beginner-friendly, pre-built overlays & widgets, cloud-based settings.
- ❌ Cons: Uses more system resources, limited customization, some features locked behind Streamlabs Prime (paid subscription).
Key Differences Between OBS Studio & Streamlabs Studio
| Feature | OBS Studio | Streamlabs Studio |
|---|---|---|
| Free & Open-Source | ✅ Yes | ✅ Yes (Free to use, Pro version available) |
| Custom Stinger Transitions | ✅ Yes | ✅ Yes |
| Built-in Widgets (alerts, chat box, donations) | ❌ No (Requires plugins) | ✅ Yes |
| Performance & CPU Usage | ✅ Optimized | ❌ Higher CPU Usage |
| Customization | ✅ Extensive (Plugins & Scripts) | ❌ Limited |
| User-Friendly Interface | ❌ Requires manual setup | ✅ Beginner-friendly |
| Cloud Backup & Storage | ❌ No | ✅ Yes (Pro version) |
| Mobile App Control | ❌ No | ✅ Yes (With Streamlabs mobile app) |
Which One Should You Use?
🔹 Use OBS Studio if:
- You want a lightweight, optimized streaming tool.
- You don’t mind setting up custom plugins & overlays.
- You need full control and advanced customization.
🔹 Use Streamlabs Studio if:
- You’re a beginner and want an all-in-one streaming solution.
- You prefer pre-made overlays & widgets without manual setup.
- You have a powerful PC to handle higher CPU usage.
The choice is up to you
👉 OBS Studio is best for experienced streamers who want full control and optimization.
👉 Streamlabs Studio is best for beginners who want easy setup and built-in tools.
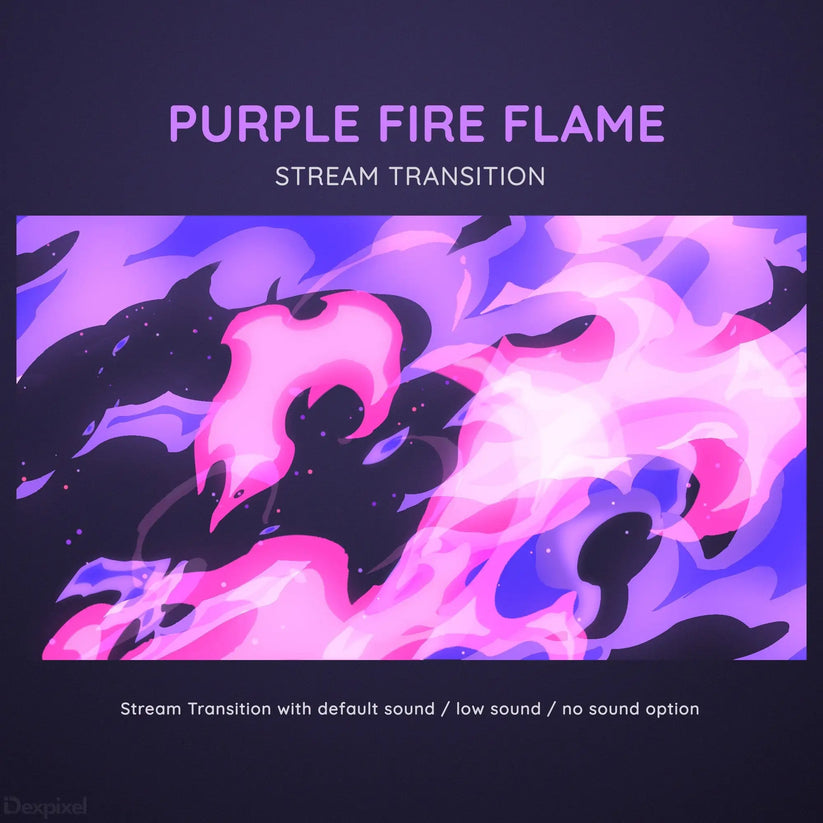
Elevate your stream with our Dexpixel Stream Transitions. This exclusive collection features dynamic transitions, overlays, and alerts tailored for leading streaming platforms like OBS, Streamlabs, and StreamElements. These meticulously designed assets bring a polished, professional aesthetic to your streams, perfect for creating a seamless and engaging viewer experience.
Crafted for Twitch streamers, VTubers, and content creators of all kinds, the Dexpixel stream transitions offer a versatile selection to suit various themes and branding styles. Whether you’re looking to add energy with bold animations or create a sleek, understated vibe, our transitions help you stand out and captivate your audience.
Example of Themes for Dexpixel Stream Transitions:
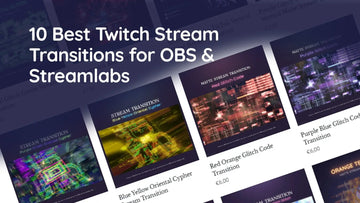
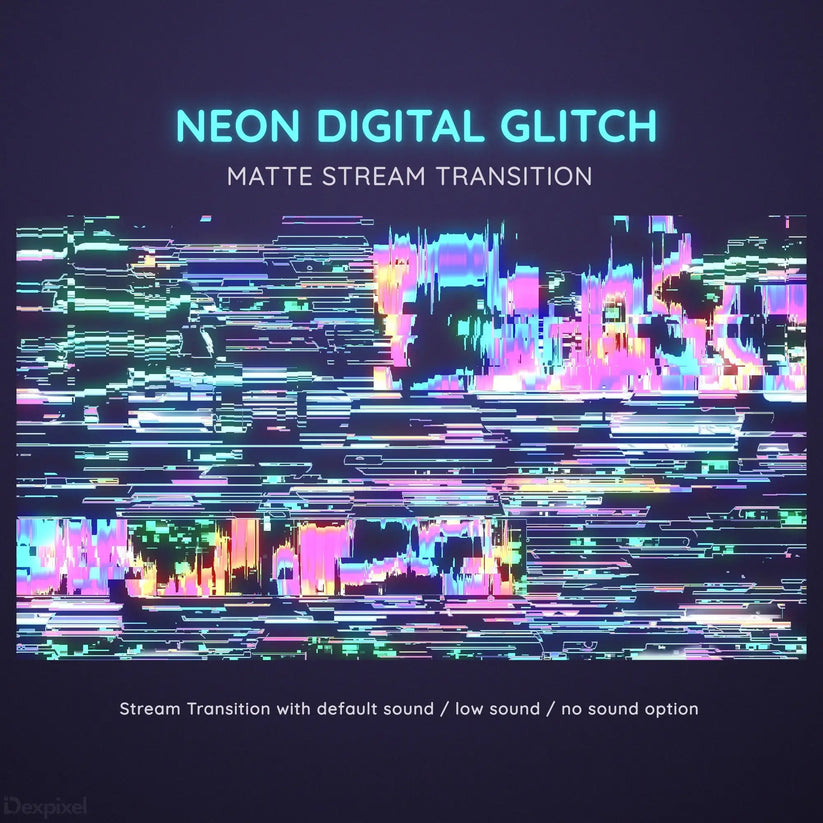
- Cyberpunk Glitch Transitions: Infuse your stream with a futuristic and edgy vibe.
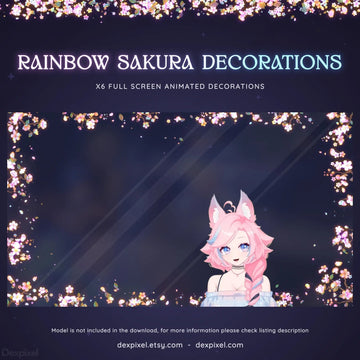
- Cherry Blossom Transitions: Add a serene, nature-inspired aesthetic to your scenes.
- FPS Games Transitions: Perfect for action-packed streams with sharp, dynamic animations.
- Cartoon FX Transitions: Bring playful and energetic vibes with animated cartoon effects.
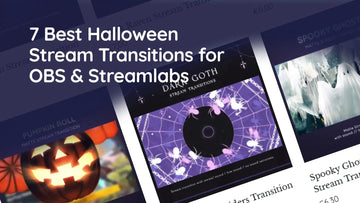
- Horror Transitions: Set a chilling tone with dark, eerie animations.
- Floral Transitions: Embrace a fresh, natural look with flowers-themed designs.
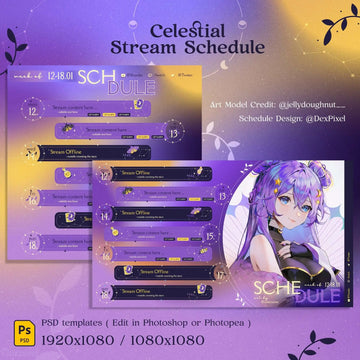
- Celestial Transitions: Create enchanting moments with whimsical and fantasy-inspired visuals.
Whether you’re building a bold, vibrant theme or a minimal, sleek design, Dexpixel stream transitions offer the tools to make your streams memorable and engaging. Transform your broadcasts with assets that reflect your style and take your content to the next level.
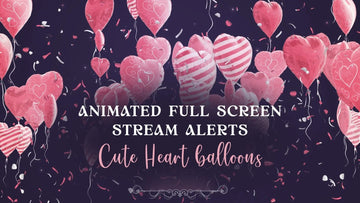
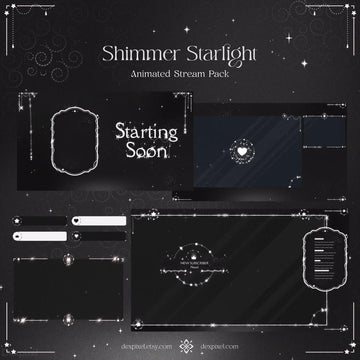
Example of Dexpixel Stream Transitions
This animated stinger transition is perfect for your Twitch, YouTube, or VTuber stream. Ideal for streamers looking for a colorful, aesthetic with seamless transitions.
Final Thoughts
Stream transitions are a game-changer when it comes to making your stream look smooth and professional. Whether you use a simple fade or a high-energy stinger transition, adding one enhances your stream’s branding and production quality.
Need a custom transition for your stream? Check out Dexpixel for high-quality, personalized stream animations!
Have any other questions? Drop them in the comments—we’d love to help!
1. What are stream transitions, and why are they important?
Stream transitions are visual effects that occur when switching between scenes during a live broadcast. They serve to create a seamless and professional flow, enhancing the viewer's experience by preventing abrupt changes. Effective transitions can maintain audience engagement and reflect the streamer's brand identity.
2. What is a stinger transition?
A stinger transition is a type of animated overlay that plays during scene changes. It typically involves a full-screen animation with a transparent background, often incorporating the streamer's logo or branding elements. Stinger transitions add a dynamic and polished look to streams, making scene switches more engaging
How do I create a custom stinger transition?
Creating a custom stinger transition involves designing an animation that represents your brand. You can use free software like HitFilm Express to design the animation and export it with a transparent background. After creating the animation, you can add it to your streaming software, such as OBS Studio, as a stinger transition.
4. How do I add a stinger transition in OBS Studio?
To add a stinger transition in OBS Studio:
- In the "Scene Transitions" section, click the "+" button and select "Stinger."
- Name the transition and click "OK."
- In the properties window, click "Browse" next to the "Video File" field and select your stinger animation file.
- Set the "Transition Point" to determine when the new scene becomes visible during the animation.
- Adjust other settings as needed and click "OK."
This process integrates your custom stinger into OBS Studio, enhancing your stream's visual appeal
Why does my stinger transition have black background?
A black background in your stinger transition usually indicates that the video file lacks an alpha channel, which handles transparency. Ensure that your animation is exported in a format that supports transparency, such as QuickTime with RGB + Alpha channels. If issues persist, consider re-encoding the file using a codec that maintains transparency, like GoPro CineForm with the "Export Alpha" option enabled.
6. How long should a stinger transition be?
Stinger transitions should ideally last between 1 to 3 seconds. This duration is sufficient to create a smooth scene change without disrupting the viewer's experience. Transitions that are too long can become distracting, while those that are too short may not effectively mask the scene switch.
7. What is the "Transition Point" in a stinger transition, and how do I set it?
The "Transition Point" is the moment during the stinger animation when the switch between scenes occurs. It's typically set at the point where the animation fully covers the screen, masking the change. To set it:
- Determine the exact time (in milliseconds or frames) when the screen is entirely covered during the animation.
- Enter this value in the "Transition Point" field when configuring the stinger in your streaming software.
Accurate setting of the transition point ensures a seamless and professional-looking scene change.
8. Why is my stinger transition lagging or not playing smoothly?
Lagging or choppy stinger transitions can result from high CPU or GPU usage, or from the encoding process bottlenecking your system. To mitigate this:
- Run your streaming software as an administrator to prevent other processes from interfering.
- Set the process priority of your streaming application to "High" in the Task Manager.
- Enable "Performance Mode" in your streaming software to reduce resource usage.
- Close unnecessary applications and limit the number of looping animations in your scenes.
These steps can help improve the performance of your stinger transitions.
9. Can I use stinger transitions in Streamlabs OBS?
Yes, stinger transitions can be used in Streamlabs OBS. The process is similar to OBS Studio:
- In the "Scene Transitions" section, click the "+" button and select "Stinger."
- Name the transition and click "Add."
- In the properties window, click "Browse" next to the "Video File" field and select your stinger animation file.
- Set the "Transition Point" and adjust other settings as needed.
- Click "Done" to save the transition.